Learning how to do your makeup can feel a bit overwhelming, especially with all the tutorials and techniques out there. But don’t worry! Here’s a simple, easy-to-follow guide that covers the basics and helps you get started on your makeup journey.
Doing your own makeup can be a fun and rewarding experience. It allows you to express your individuality and enhance your features. Whether you’re new to makeup or looking to refine your skills, here’s a comprehensive guide to help you navigate the process.
Step-by-Step Guide
1: Prepare Your Skin
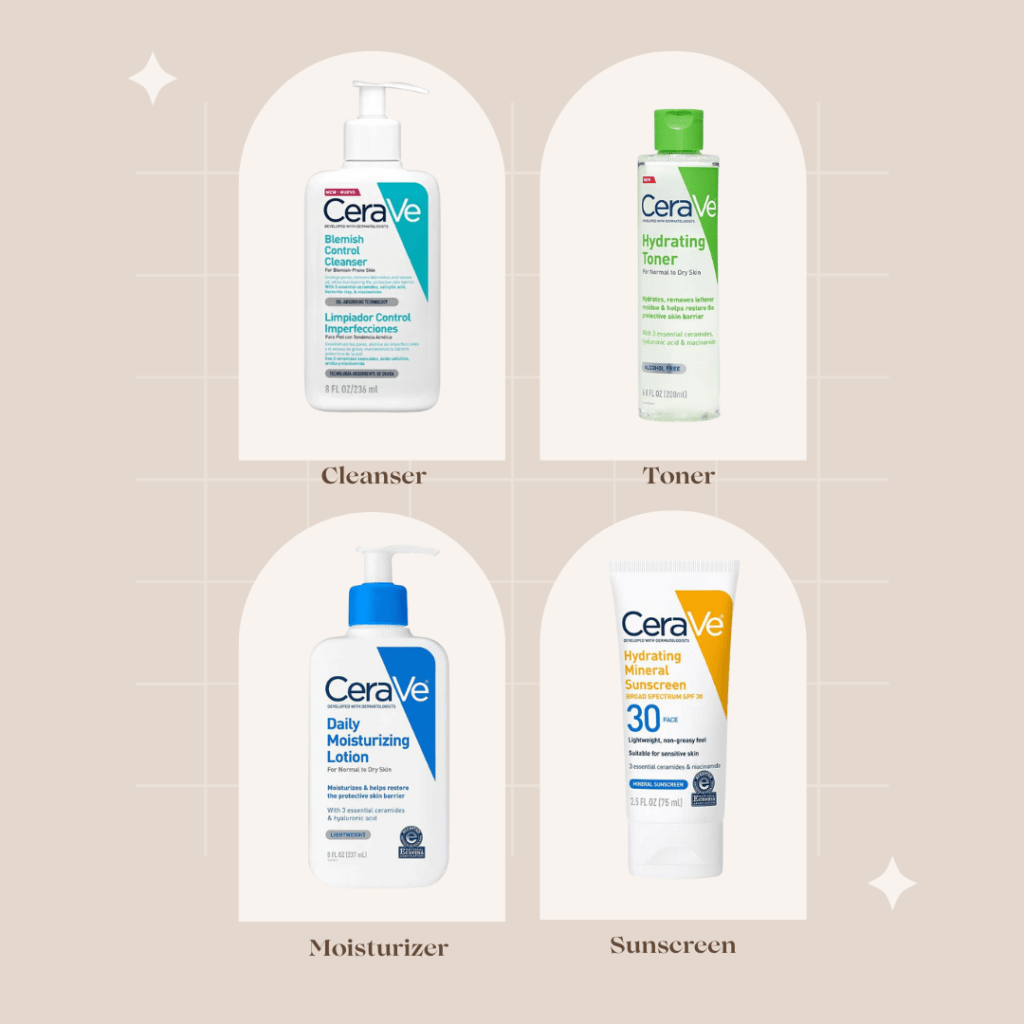
- Cleansing:
The first step in a skincare routine is to cleanse your face gently with a cleanser to remove any dirt, oil, and makeup. It will help to create a canvas for your makeup.
- Toning:
The next step is to use a toner for your face. It will balance your skin’s pH and remove any leftover impurities. Toners can also help to tighten pores and prepare your skin for the next steps.
- Moisturize:
Now, take a moisturizer suitable for your skin type. It is a crucial step in your skincare routine. Apply the moisturizer to keep your skin hydrated and smooth. This ensures your makeup goes on evenly and lasts longer.
- Sun Protection:
Do not forget to Apply sunscreen with at least SPF 30 before your makeup to protect your skin from harmful UV rays. Opt for moisturizers with built-in SPF to save time.
- Primer Application:
Use a primer to create a smooth base for your makeup. Primer can help reduce the appearance of pores and ensure your makeup lasts longer.
There are some types of primer according to skin type:
- Hydrating Primer: It is made for those who have dry skin. This primer will help to provide extra moisture to keep your skin looking fresh and dewy.
- Mattifying Primers: These primers are best for oily or combination skin. It helps to control shine and keep your makeup looking matte throughout the day.
- Color-correcting Primers: They come in all rainbows but depend on pretty basic principles. These primers will help to address specific skin concerns such as redness, dullness, or uneven skin tone. For instance: the green liquid formula neutralizes redness, resulting in a neutral base for makeup application. While purple formula brightens dull skin.
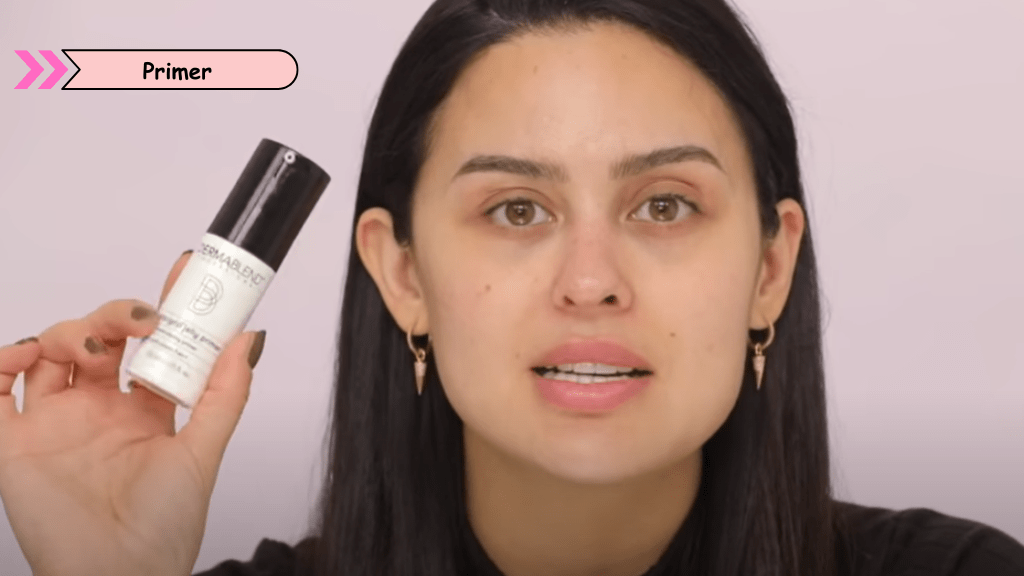
How to Apply Primer for a Smooth Base:
- If your skin is more on the oily side then you gonna want something that oil free or mattifying and if you have large pores something that going to smooth out those pores so keep that in mind but we suggest you go for the one that does everything in one.
- Now apply primer to your hand, you do not need a lot and going to apply it all over. So, can be used as a barrier between your skincare and makeup or they can make your makeup go on very smoothly some of them are just long-lasting they all do different things.
2: Creating a Flawless Base
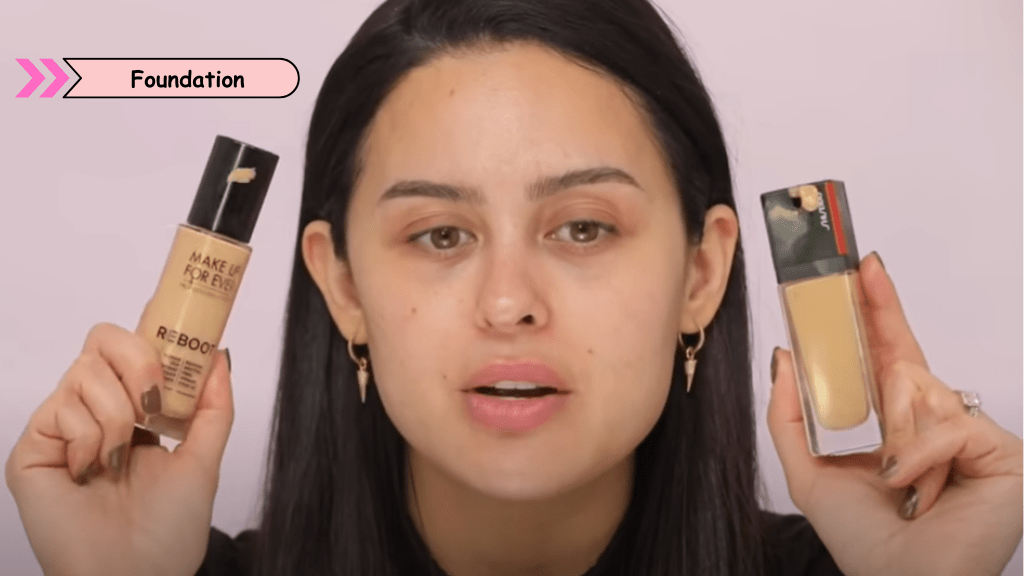
- Foundation
After you get your primer set your skin is now ready for foundation. Makeup for everyone is typically different depending on what your skin type is and what you want from your makeup. Now when it comes to foundations there are different types and different finishes.
So go with something that little bit natural and dewy. Usually, people love that healthy natural glow so try something more dewy. some people have different skin types if you have oily skin choose something that is more mattifying.
Now start to put on the foundation when it comes to applying foundation you can use a beauty blender.
Just put a little bit on your handwork around and then tap your beauty sponge and it will give you the most even natural-looking coverage then you can build this up and make sure that you are using the color that is going to match your neck and the rest of your body.
Take your beauty blender and go right along your neck and make sure that is nice and even.
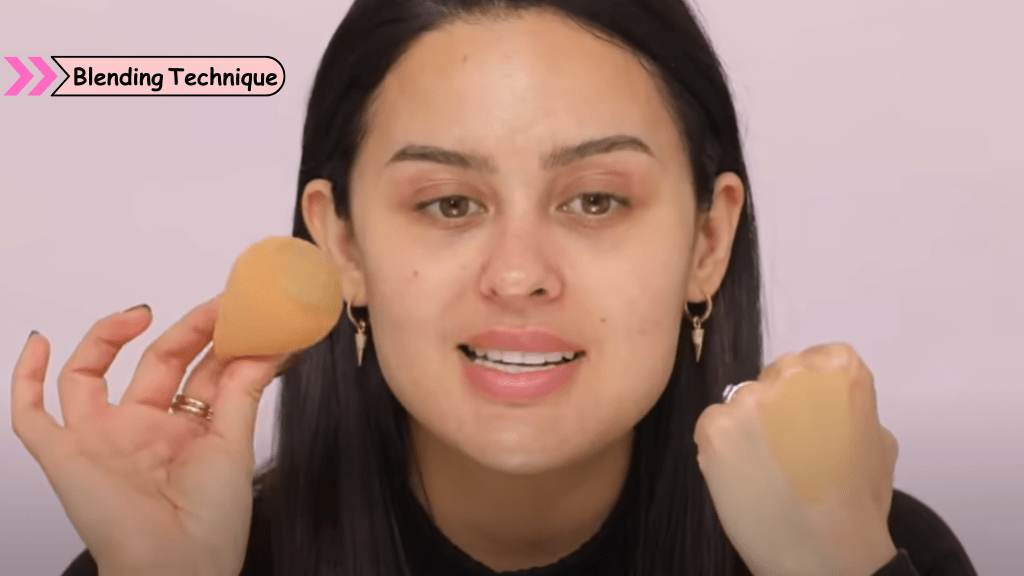
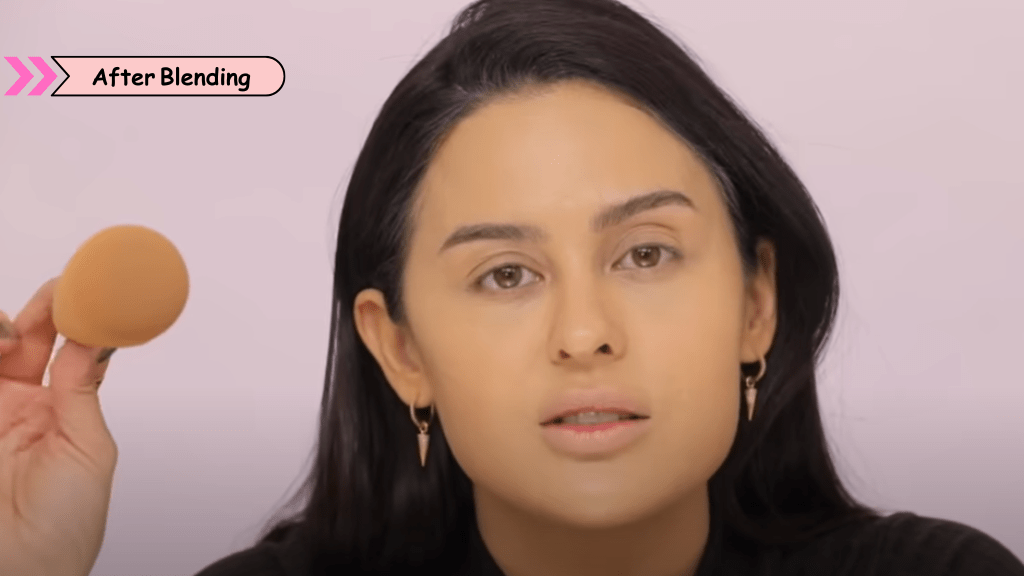
Now go in with whatever you have left on your beauty sponge and just go and tap into every area of your face to double-check that everything is blended and that there are no spots or harsh lines that are uneven, especially around your neck area. Your neck area is a noticeable area where it is the color does not match.
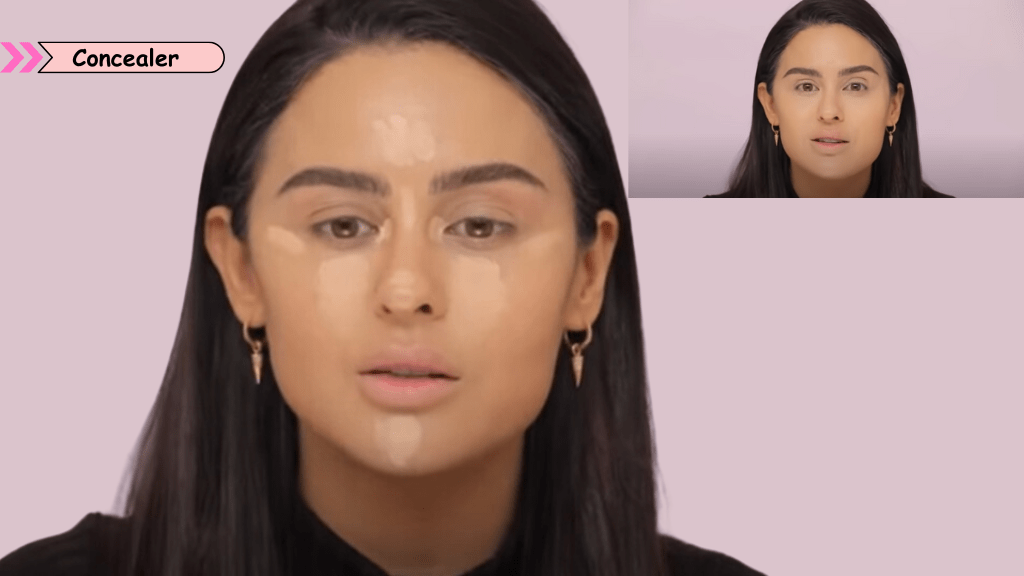
- Concealer
After that your foundation is set in place you can kind of check out your skin to see if any places need a little more extra coverage so that’s what concealer is for. It is all about coverage.
Some people just use concealer by itself because they do not want a full even face. They kind of like their even skin tone already they just need to hide of little bit of dark circles or blemishes.
So if you are brightening any part of your face I would suggest you use a shade that is 2 to 3 shades lighter than your natural skin tone.
If you just have a blemish that still did not cover up with the foundation because you like more of a natural look then get a concealer that is going to match your skin tone.
Do not try to go brighter or darker just match your skin tone the best that you can. It should look undetectable.
Now we are going to just get rid of our dark circle. Apply it over the darkness under your eye-like inner corner.
If you have bags on your eyes it’s kind of more pronounced in this area than even that out with the rest of your face going down this way.
Now blend it properly with the same beauty blender press the concealer into your skin and let it sit for a few seconds before going to the next step.
- Setting the Base
If you want that fierce intense glow then go to the setting powder. Firstly you have to make sure you do not have any creases on your under eyes so take a sponge squeez it so that the point is really thin and make sure there are no kind of creases on your under eye really close to your lower lash line.
Now have some powder on setting brush and put it on your under eye. Basically, press in and go on your under eye forget about the rest of your face at the moment. Now we have got into the under-eye area and that has completely set.
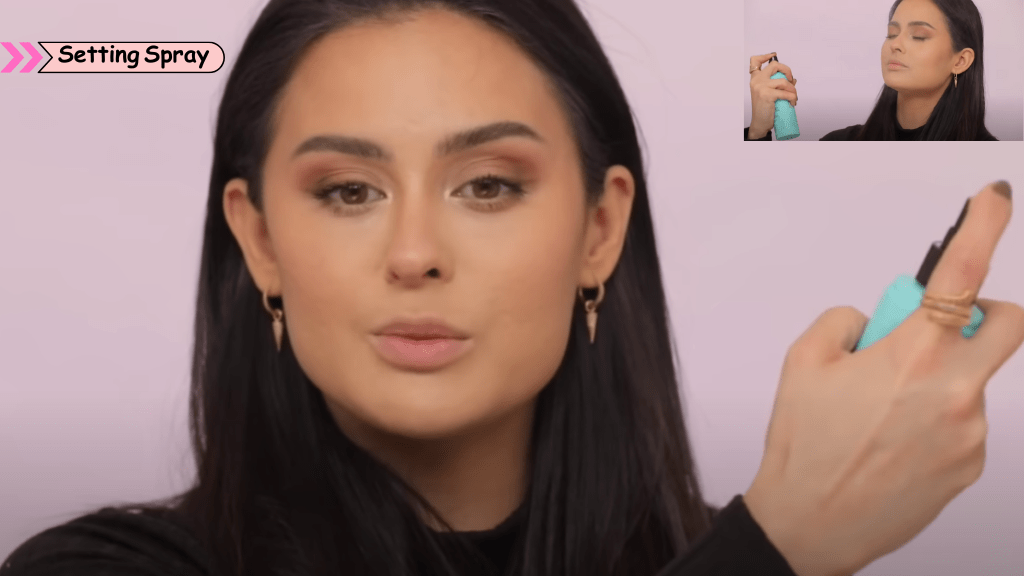
Now get long-lasting makeup setting spray and spray it on your face first. Then we are all set to go to the next step.
The key role of your skin care is to make sure that your skin is thoroughly hydrated so it doesn’t look dry, aged cakey, and heavy which can all contribute to the foundation ending up looking cakey and heavy.
All and all if you follow this routine step by step you will see how amazing your skin and your foundation will look.
3: Enhance Your Eyes Appearance
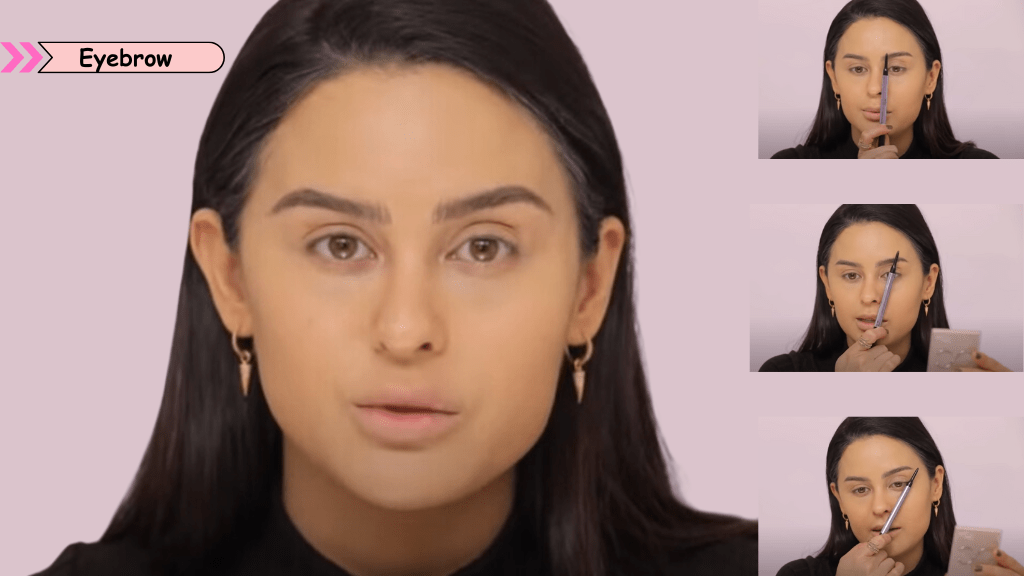
- Eyebrows
When you get an even face and then do your eyebrows so now at this point let you set spray sit and dry its own a little bit. Your brows frame your face so you want your brows to look even and balanced. For that, you can either do that with a pencil or you can use powder.
It depends on the type of brow you want. Now this is basic how to apply makeup for beginners so we will not go into the different types of brows because that’s a little bit more advanced. We just fill them in and make them look even more imbalanced.
Now take a brow pencil and start filling in the sparse areas that are missing. If you have a pretty amount of brow hair you can just get away with this by using powder and that works very well. Once you have filled everything in you feel like everything is nice and balanced and even.
When you are choosing your brow shade you have to make sure you choose the color a shade lighter than your natural hair color but use whatever color makes you feel the most comfortable.
After that’s done then go in with a brow setter or gel. This benefits a 24-hour brow setter. You just brush through your hair and press them upward and go in the direction that kind of drew in your brow and then the end just kind of goes up. Your brows are set in place they are not going to move around. We are done with eyebrows.
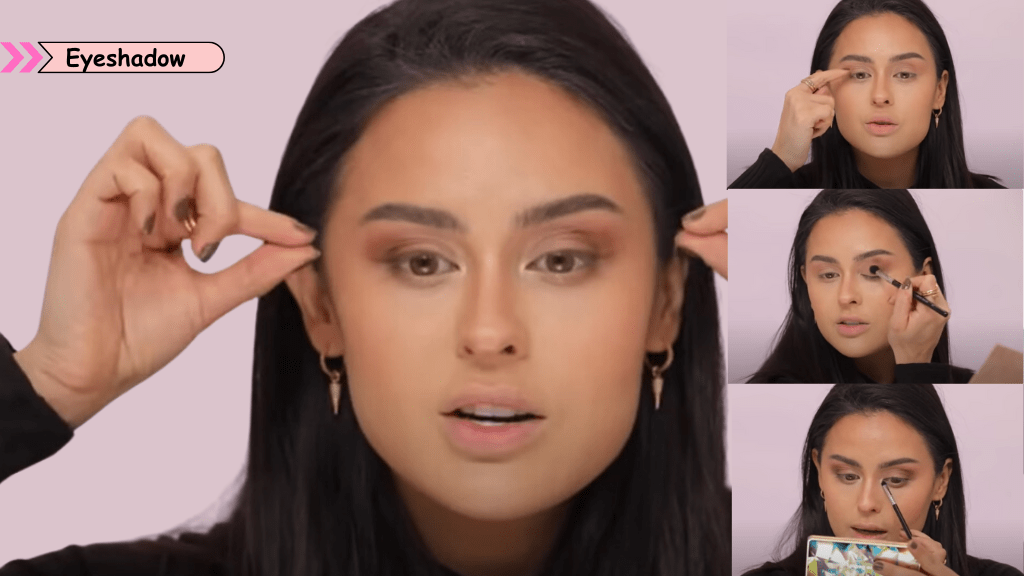
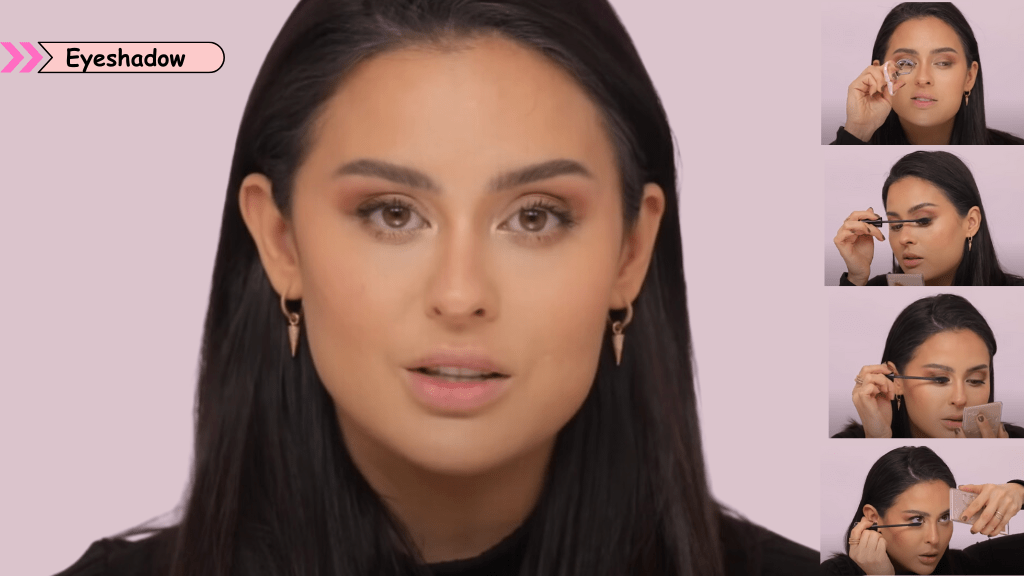
- Eyeshadow
First, contour your eyes, that is the basic thing you should do. After that, your face has some warmth going on you stop there.
If you like to make your lids look more healthy and bright put some eyeshadow on them. Take a shader brush to pack pigment and get a lot of eyeshadow in one area.
Also if you want your brow bone and the shape of your brow to kind of pop a little bit more. Now take a little deeper shade to darken the outer crease a little bit.
If you like something that is more colorful and that is your everyday you want more color in your shadow you can totally use the same steps but use color instead.
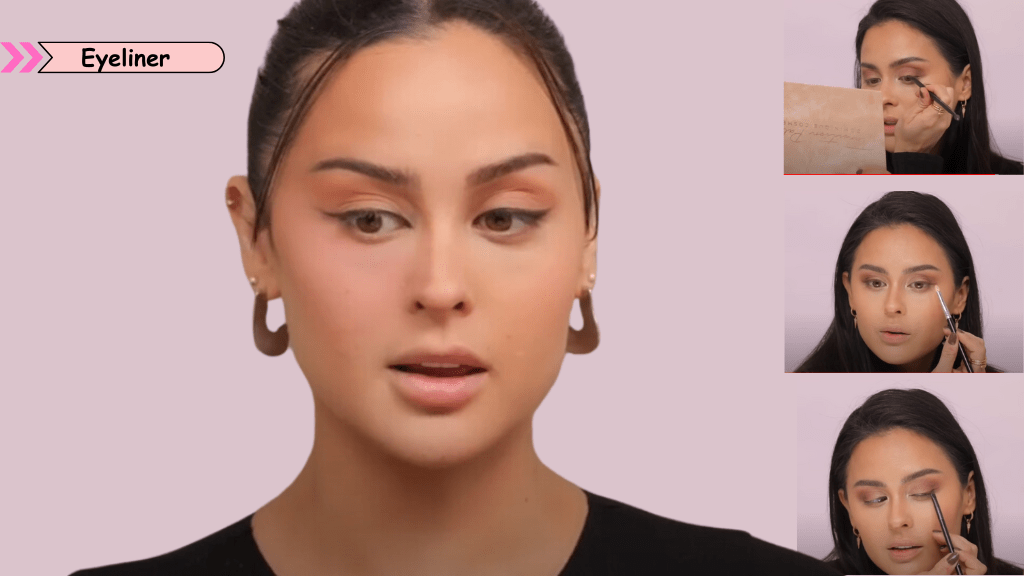
- Eyeliner
To apply eyeliner, first choose your type: pencil for ease, liquid for precision, or gel for a smooth look. Prep your eyelids with primer to prevent smudging. Rest your elbow on a flat surface for stability, and gently pull your eyelid taut.
Start from the inner corner of your eye and draw a line along your lash line, using small, connected dashes for pencil or one smooth stroke for liquid or gel. This technique ensures a neat and lasting application.
- Mascara
Now in this step, we are going to curl the lashes. Put down the curler at the base of the eyelash and then lift up a little bit because that’s going to give you more of a curl and it’s also going to avoid pinching your skin.
Pump it two times and squeeze it and you will get a pretty lift to your lash. Your lashes are curled we are going to put some mascara. It going to make your lashes stand out it will look beautiful.
Time to put some Mascara, it always starts at the base. Go to the base but do not push down because it’s going to smug on your eyelid.
Set it at the base do not press it in and then wiggle it side to side until you get to the top. Another trick you can try is go to in the opposite direction of where your lashes grow.
Adding Dimension
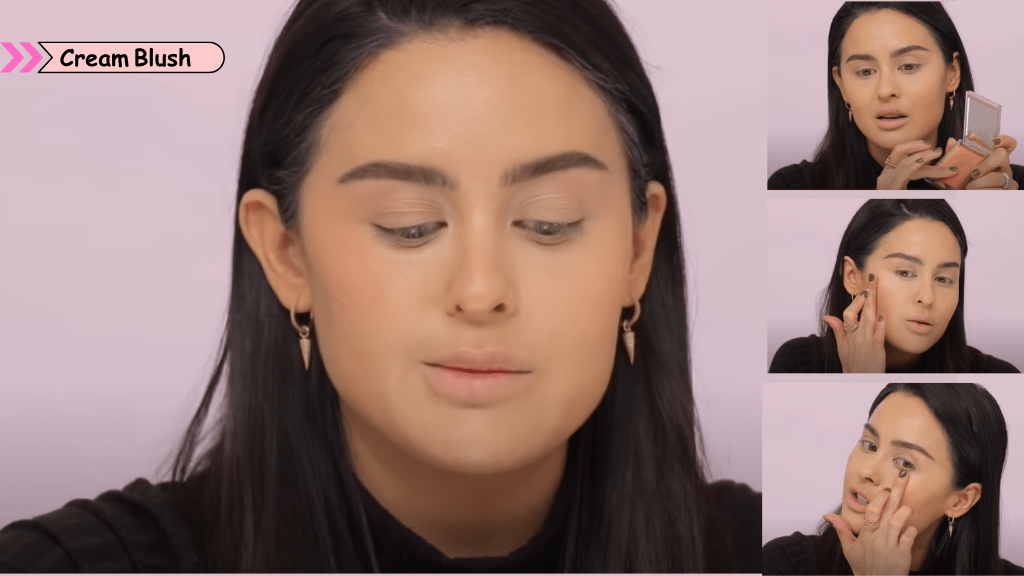
- Blush
Let’s move on to applying blush. Some kinds of blushes like cream blush that you want to lock in and bring that flush of color back to your cheeks.
Take a blushing kit and select colors of your choice or if you like to combine two shades it’s totally up to you.
Just sweep that back into the hairline and then cross the nose this is optional. Once you have applied the blush then you are done with your face.
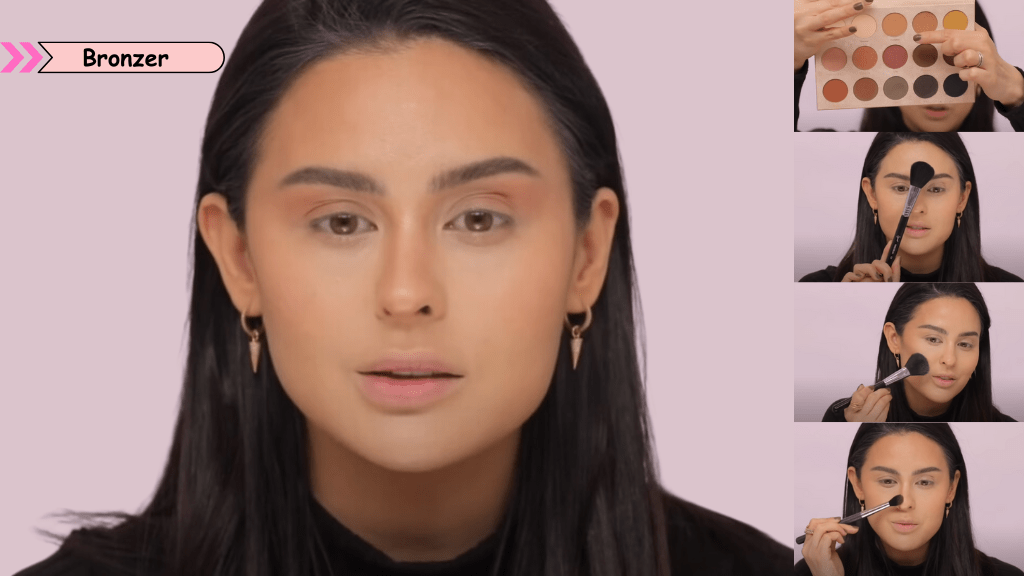
- Bronzer
Next, let’s add bronzer to your face. Select the shade according to your skin tone and then take a bronze brush. Start applying the shade to warm your face you want. We need to add some dimension to our face so take it on to your cheeks some people do not even like to put blush on, they just rather do bronze
Now contour the nose, if you do not feel like you need to shape your nose anyway then do not worry about this stuff. This gives you a base contoured.
- Highlighter
Time to get glowing! Keep in mind, that the way your skin glows is unique to you. the glow for the skin is different for everyone, some people like powder some like creams well it depends on your skin type again.
If you have dry textured skin you should go with the cream. They look more natural kind of give you a glowing from within rather than glowing from on top.
Take a highlight palette put it and tap that on your cheeks using your finger. If you choose the warm shade on your cheekbones or anywhere that you want your face to look more pronounced and glowly put some on the nose, the chin, and there you have it, the glow! We’re all set with the highlight.
Perfecting Your Lips
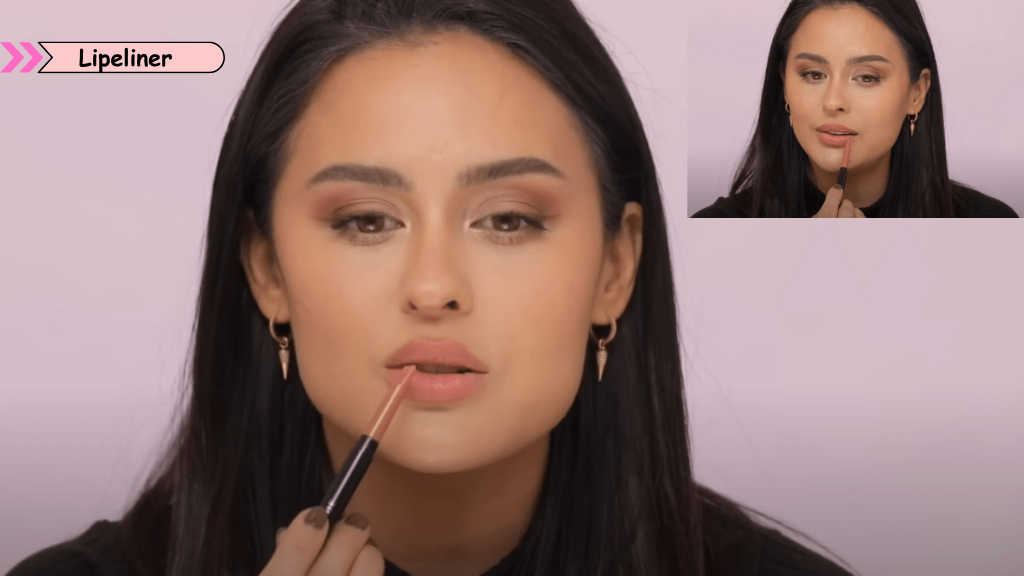
Lip Liner
When it comes to shopping for the best lip liner, it is important to think about the look you want. For a natural look, pick a lip liner that matches your natural lip color.
For a bolder look, go for a lip liner that’s darker than your natural lip color. While buying always remember to test the lip liner on your skin to make sure it’s the right shade for you.
Next, take the lip liner pencil to outline your lips. Start in the middle of your top lip and work your way out, then do the same on your bottom lip.
To make your lips look fuller, start by lining the outer edges of your lips. Then, fill in the rest of your lips with the lip liner, using short strokes.
Lipstick or Lip Gloss
Now put on your desired lipstick or gloss over the lip liner. If you want some extra definition, outline and fill in the corners of your mouth with the lip pencil. This will give you a sharper shape. In the last use a cotton but to blend the lip liner with your lipstick for a smooth natural look.
Set Your Makeup and Final Touch-ups
Setting Your Makeup
If you have dry or combo skin, a hydrating setting spray is your best friend. For oily skin, a setting powder works better to reduce shine. You can even use both—powder first, then spray—for extra staying power.
After you have applied all your makeup, grab your favorite finishing spray and give it a good shake. Keep the bottle about six to eight inches from your face and spray it lightly, from jawline to forehead. When your skin feels a little damp, let it air dry.
Touch-Up Tips
Touching up your makeup throughout the day is super important to keep your foundation from disappearing by lunch, your eye makeup from smudging, and your lipstick from fading. If you want to avoid a makeup mess, you’ve got to fix it while you’re out and about.
Always keep blotting papers or a compact with translucent powder in your bag for quick touch-ups. Blotting removes excess oil, and a light dusting of powder refreshes your makeup without making it look cakey.
Tips for Pro Makeup
- Practice makes perfect. Don’t be afraid to experiment with different looks and techniques.
- Invest in good quality makeup brushes and tools for a more polished finish.
- Regularly clean your makeup brushes to prevent skin irritation and breakouts.
- Always remove your makeup before going to bed to keep your skin healthy.
Conclusion
Doing your own makeup is a personal and creative process. Feel free to adjust any step according to your preferences and skin type. Remember, makeup is about expressing yourself and feeling confident, so have fun with it!